Quickstart Guide
Get up and running with Watchful by following the steps below.
1. Download and run the Watchful App from AWS ECR
Note: If you're using the Watchful Community Edition, follow the link in the registration email to access the correct ECR URL.
## Login
aws ecr get-login-password --region us-west-1 | \
    docker login \
        --username AWS \
        --password-stdin \
        610410161133.dkr.ecr.us-west-1.amazonaws.com

## Run the Container
docker run \
  --name watchful \
  -d -p 9001:9001 \
  -v ~/watchful:/root/watchful \
  -e WATCHFUL_LOG=info \
	610410161133.dkr.ecr.us-west-1.amazonaws.com/production/watchful:3.0.1234
- Learn More about Setting up Watchful Hub here, and get further details about running Watchful Scale in production here.
- Open your browser and go to http://localhost:9001/
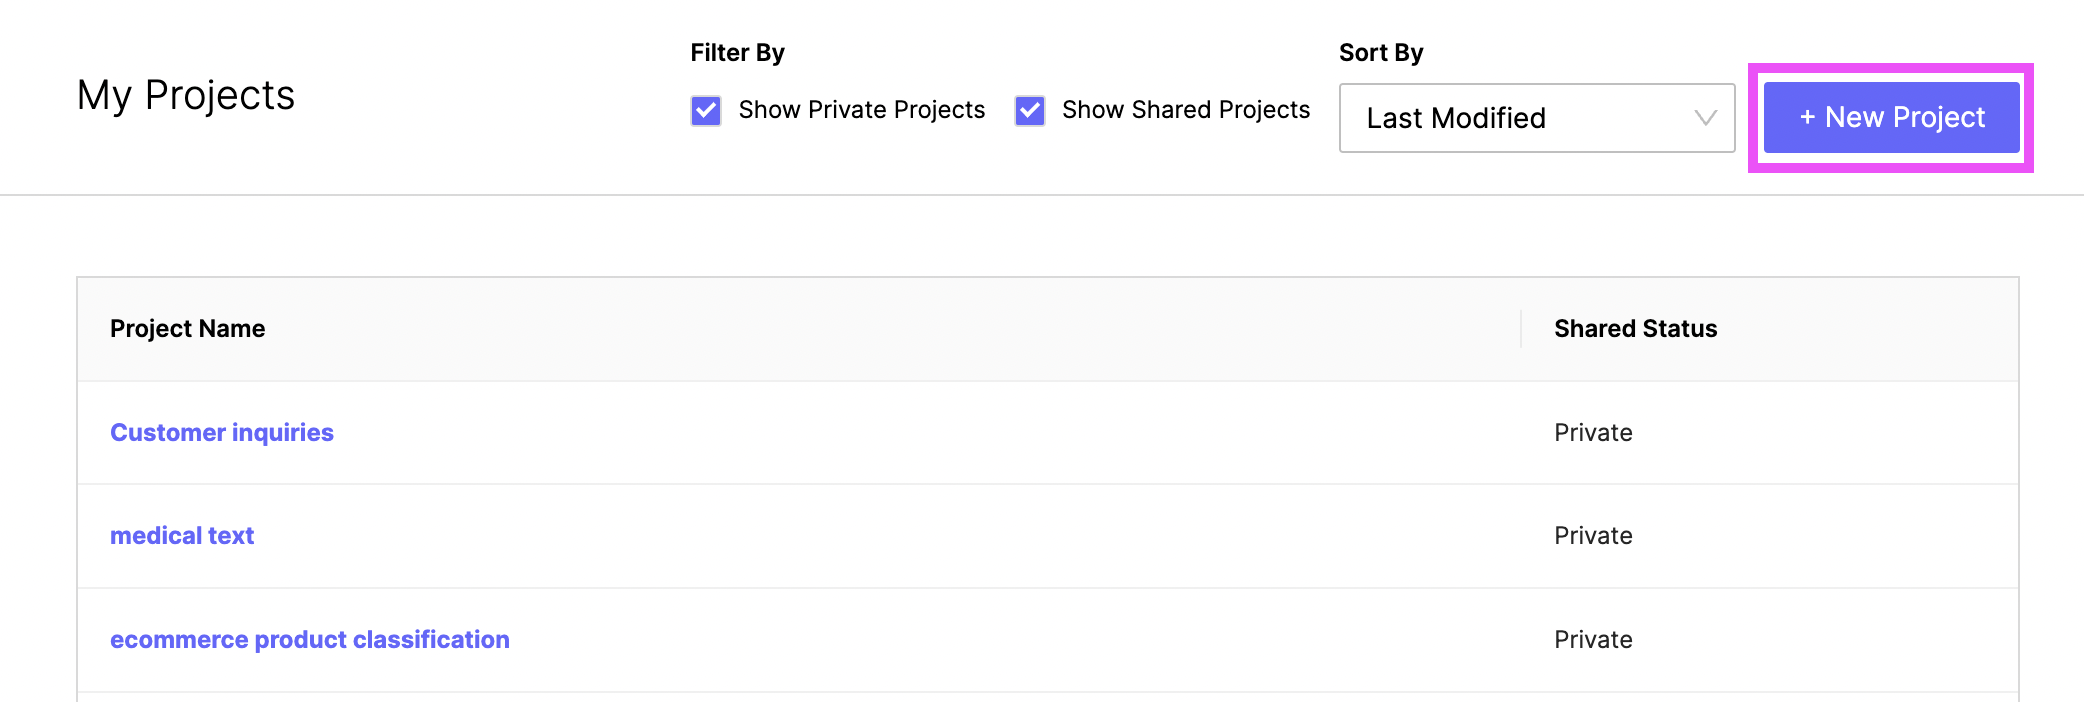
2. Create new project
3. Import data
You can access the import modal by clicking the Gear Icon in the top right menu bar. Please note that the Watchful Community Edition has an import limit of 5MB.
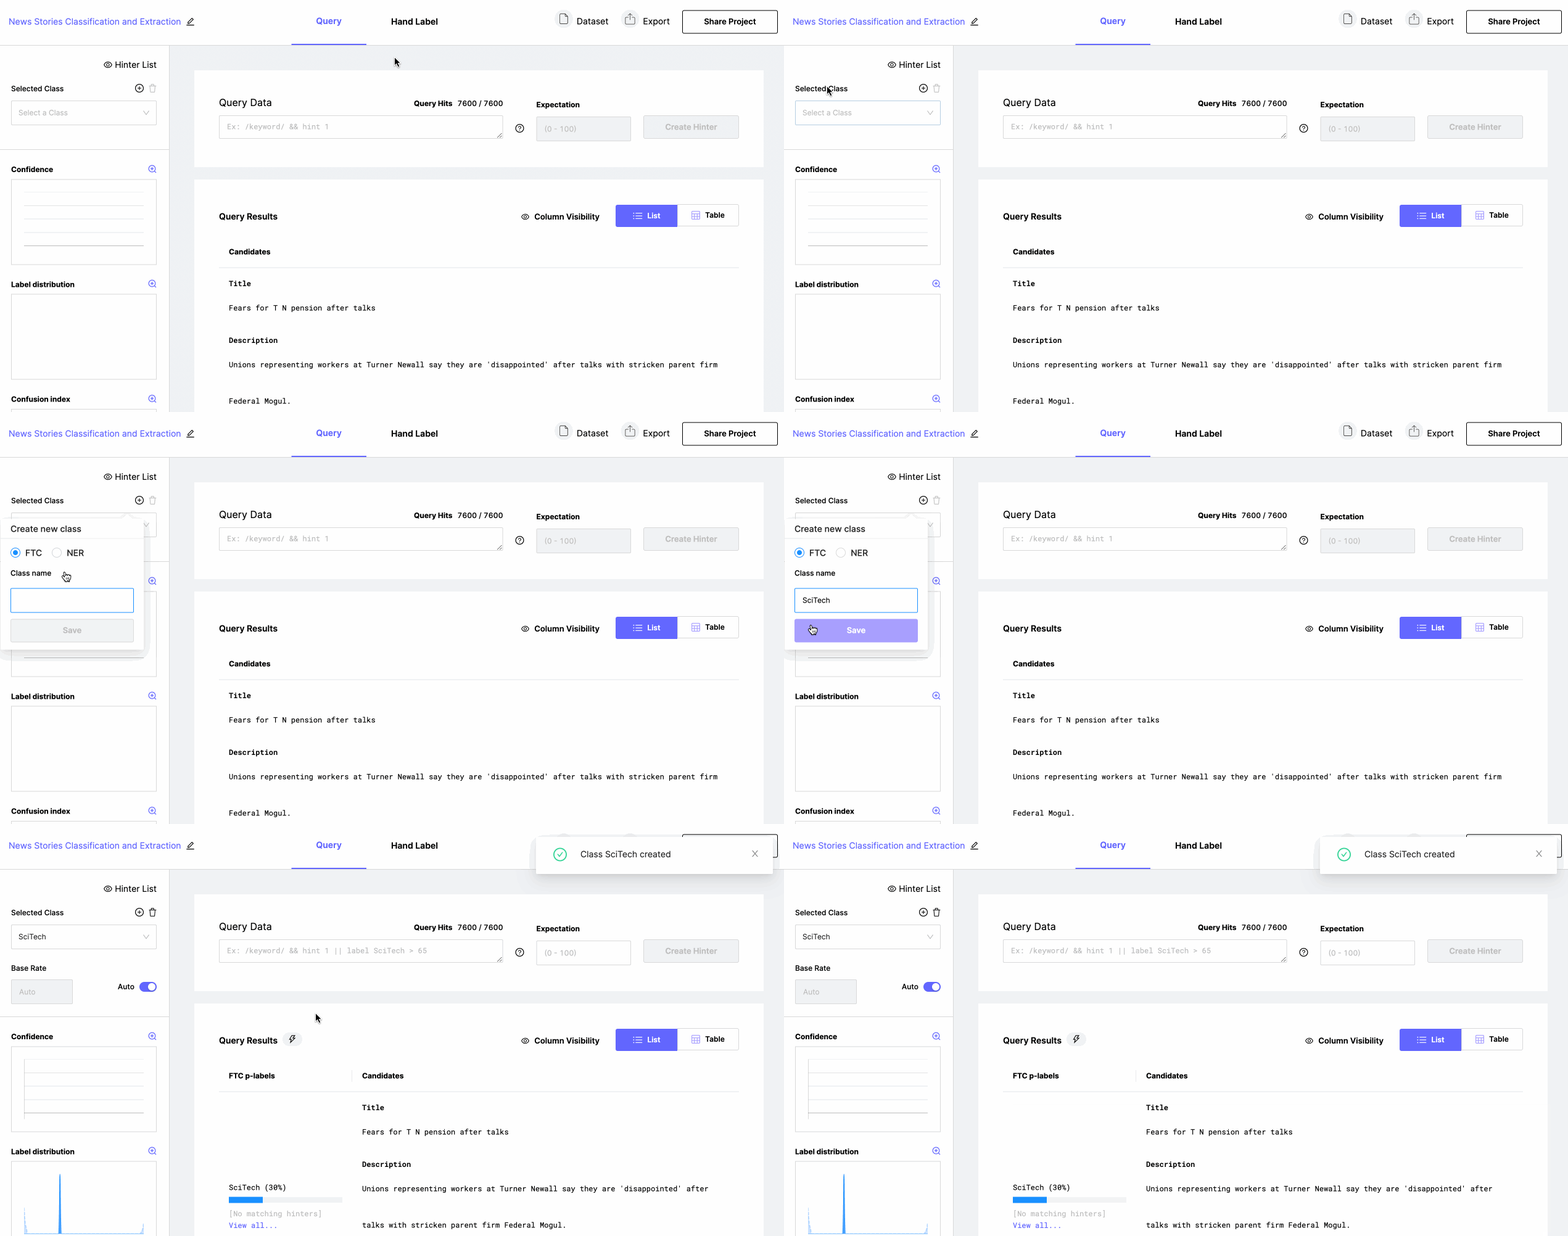
4. Create classes
Once data has been imported, create the classes you want to start labeling for by, going to the input box, just right of the words "Selected Class", writing out the name of the class, and hitting enter. If you're not sure what your classes are at this point, you can always create them one-by-one as you go.
Class names must be of the following format:
- Class names must start with an uppercase letter
- Can only contain alphanumerical characters or '_'
- Cannot exceed 32 characters.
Watchful Starter and Scale editions have two class options: NER (Named Entity Recognition) and FTC (Full Text Classification). Only FTC is available in Community Edition. Class selection affects some query features and UI modes that are class specific.
5. Choose a class
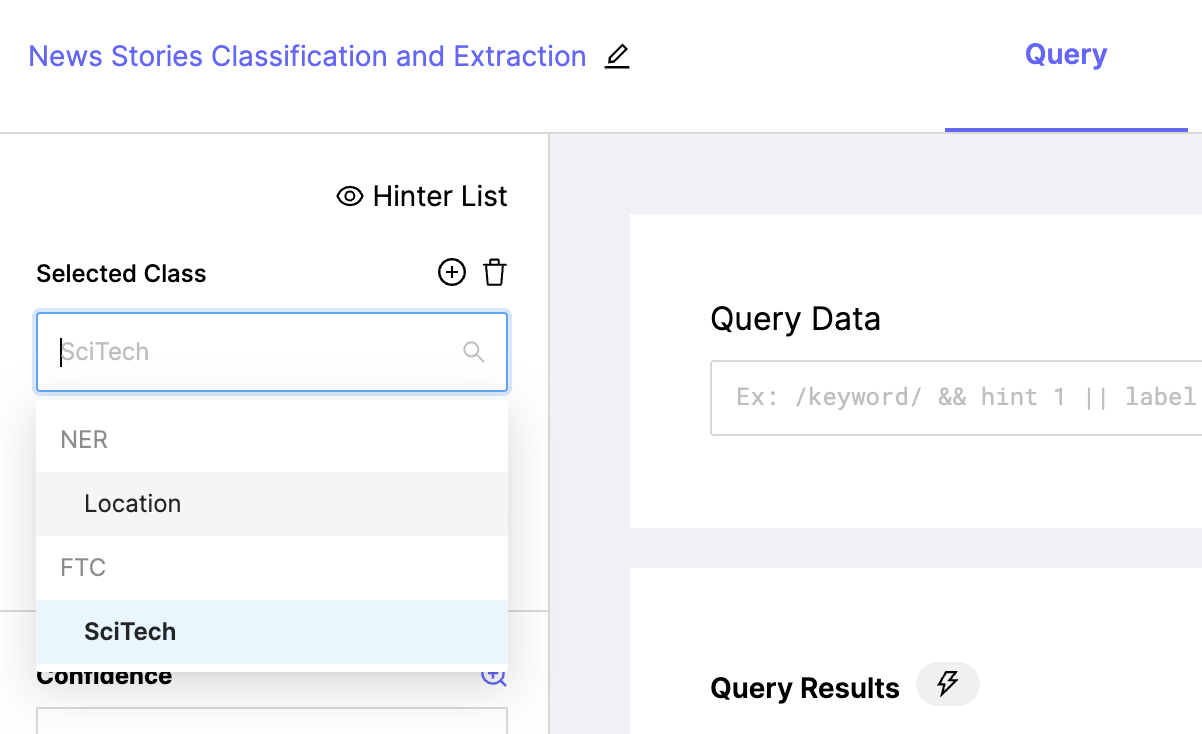
Select a class to start labeling for by simply typing its name in the "Selected Class" input box.
6. Hand label some data
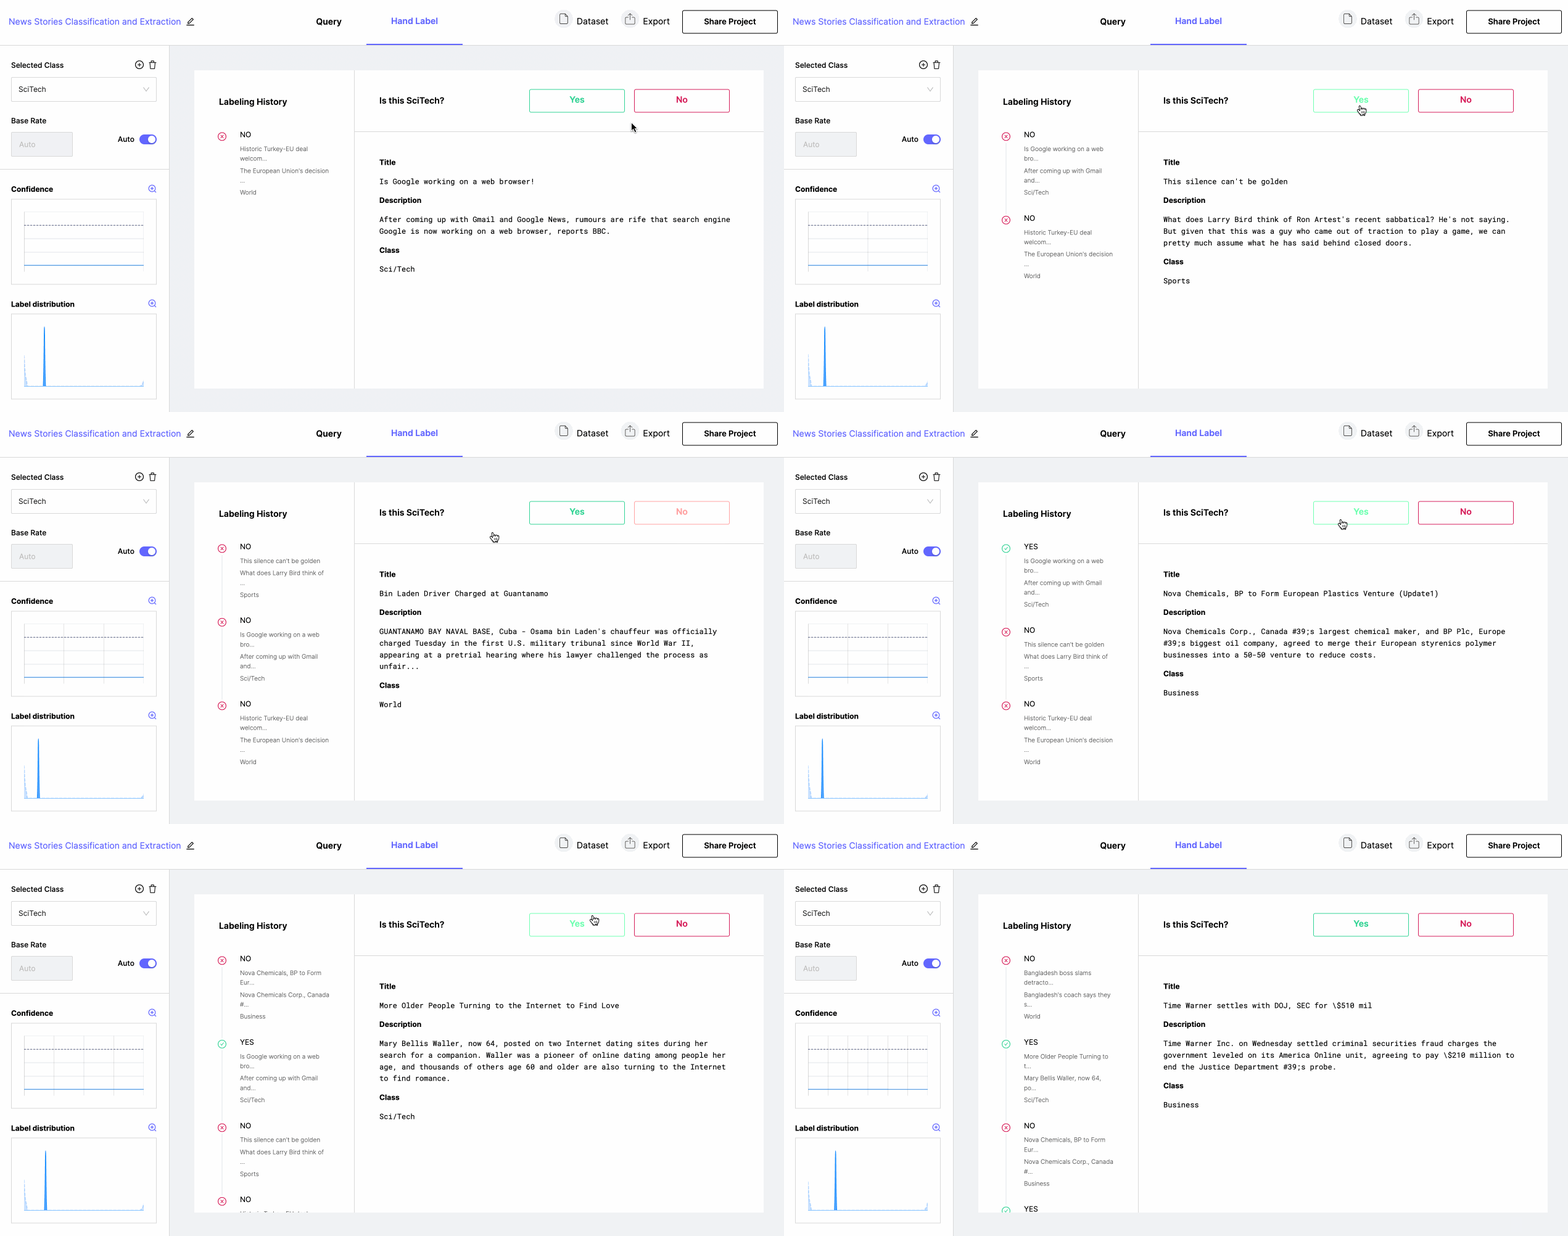
Click into the "Hand Label" tab in the center of the nav bar, and label a few pages of candidates until the Base Rate chart stabilizes. This will help give Watchful some initial signal to calibrate it to your class.
7. Seed the system with some hinters, until hinter suggestions start becoming helpful
Write your first few hinters by experimenting with simple queries (see Querying) and committing them as Hinters. Check out the querying cheat sheet for help getting started.
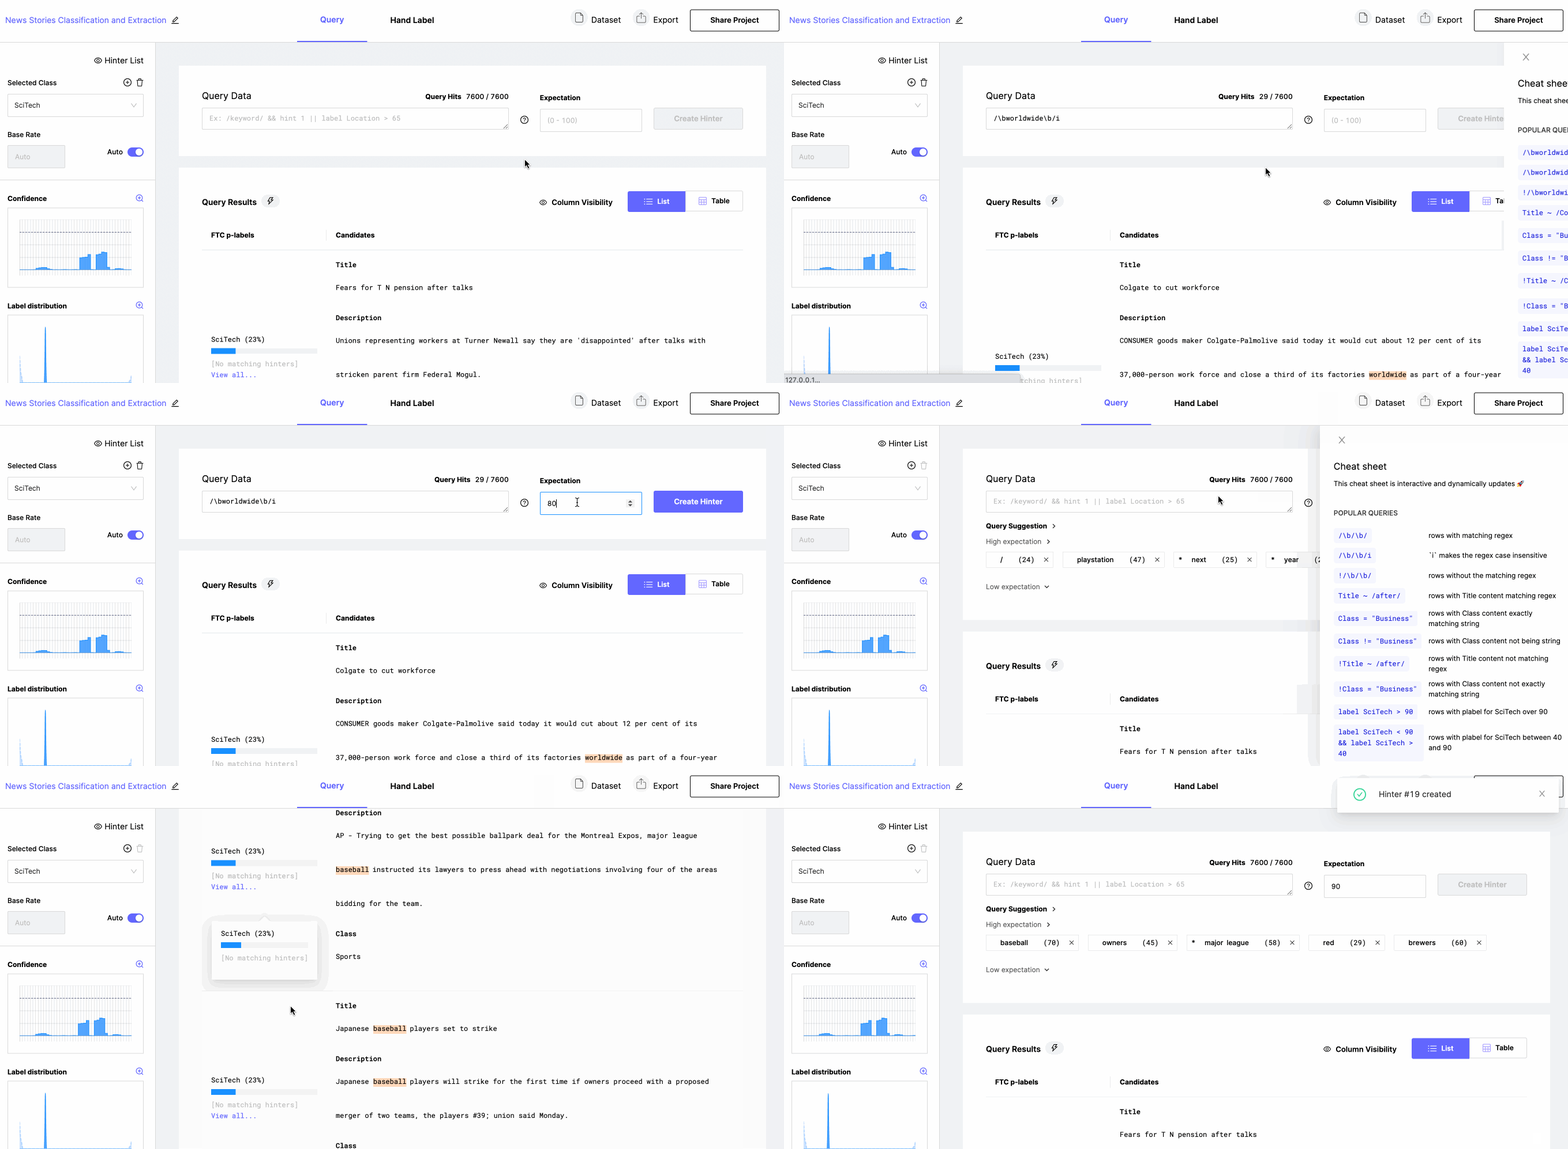
8. Click on a hinter suggestion that looks promising.
To learn more about Hinter Suggestion types read more on Hinters
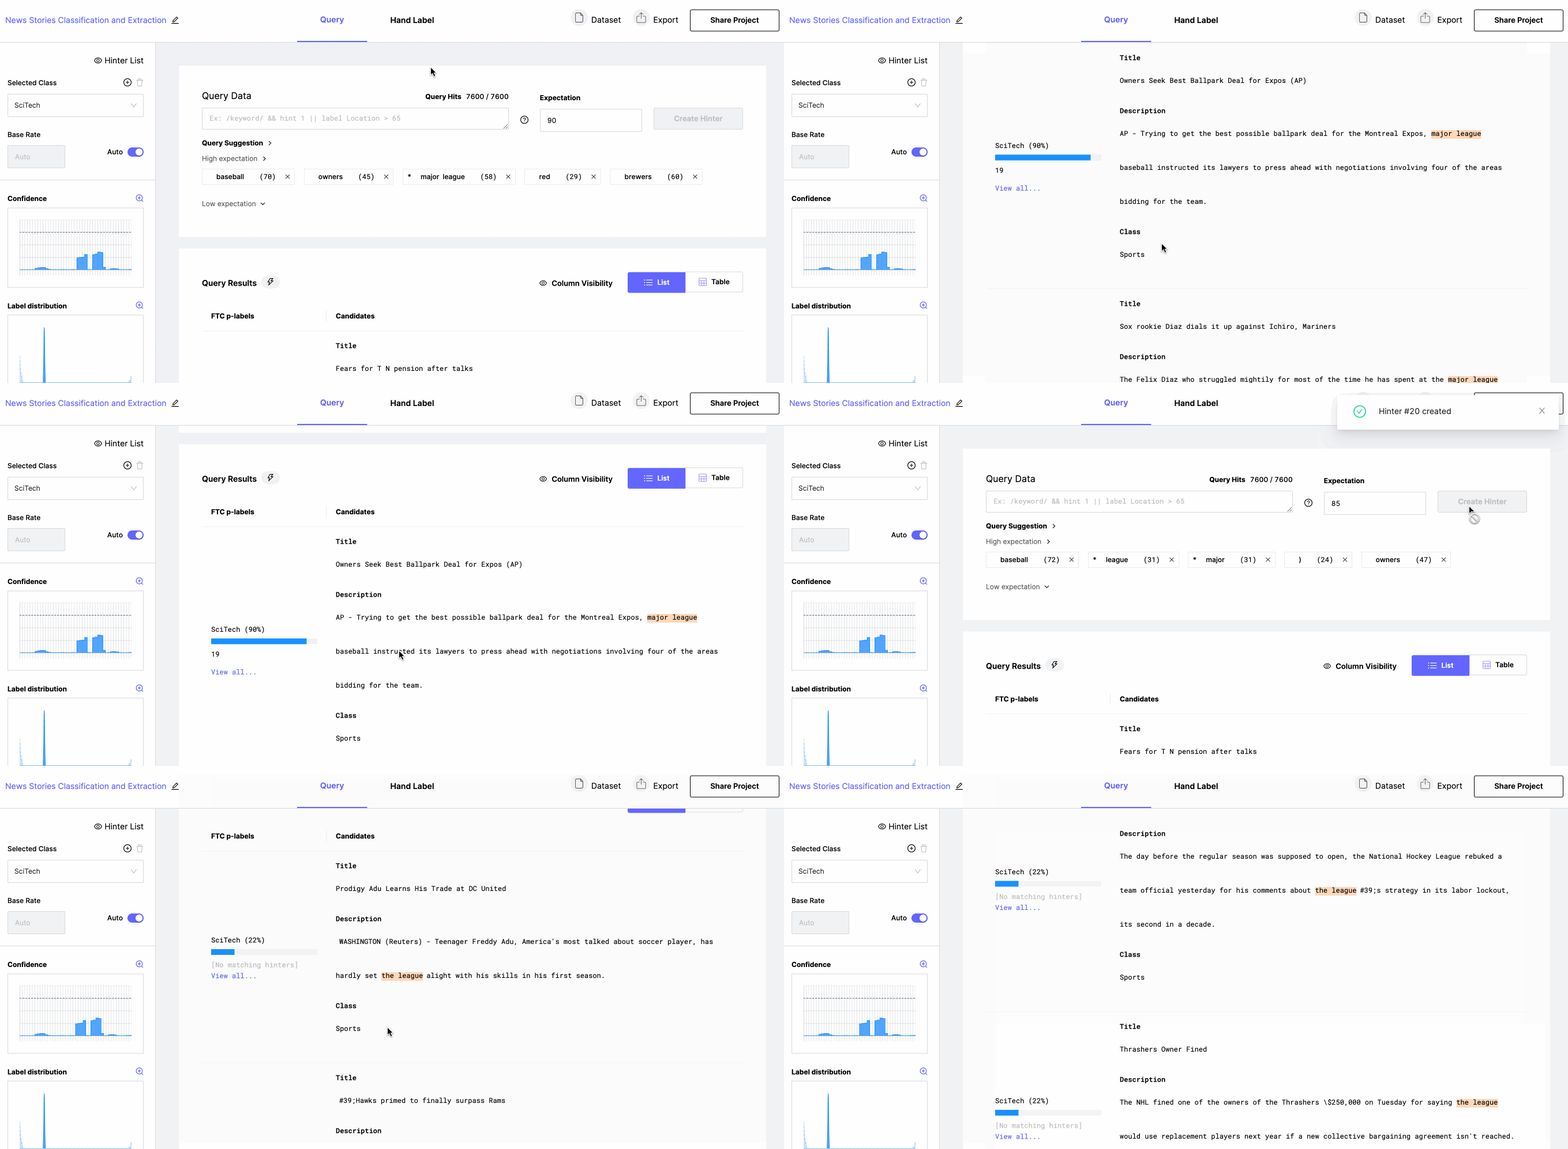
9. Add an expectation for the query and commit the hinter
To learn more about expectation best practices see Hinters

10. Repeat from step 7 until charts look correct.
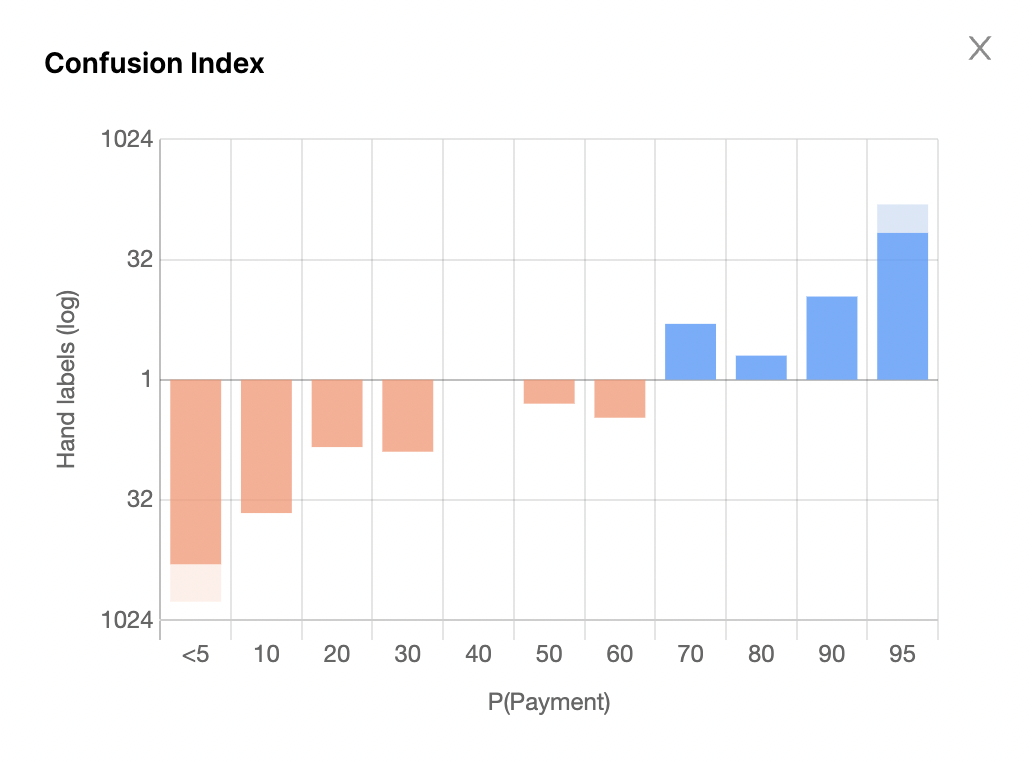
11. Collaborate with your team members (Note: the following steps are only available with Watchful Scale)
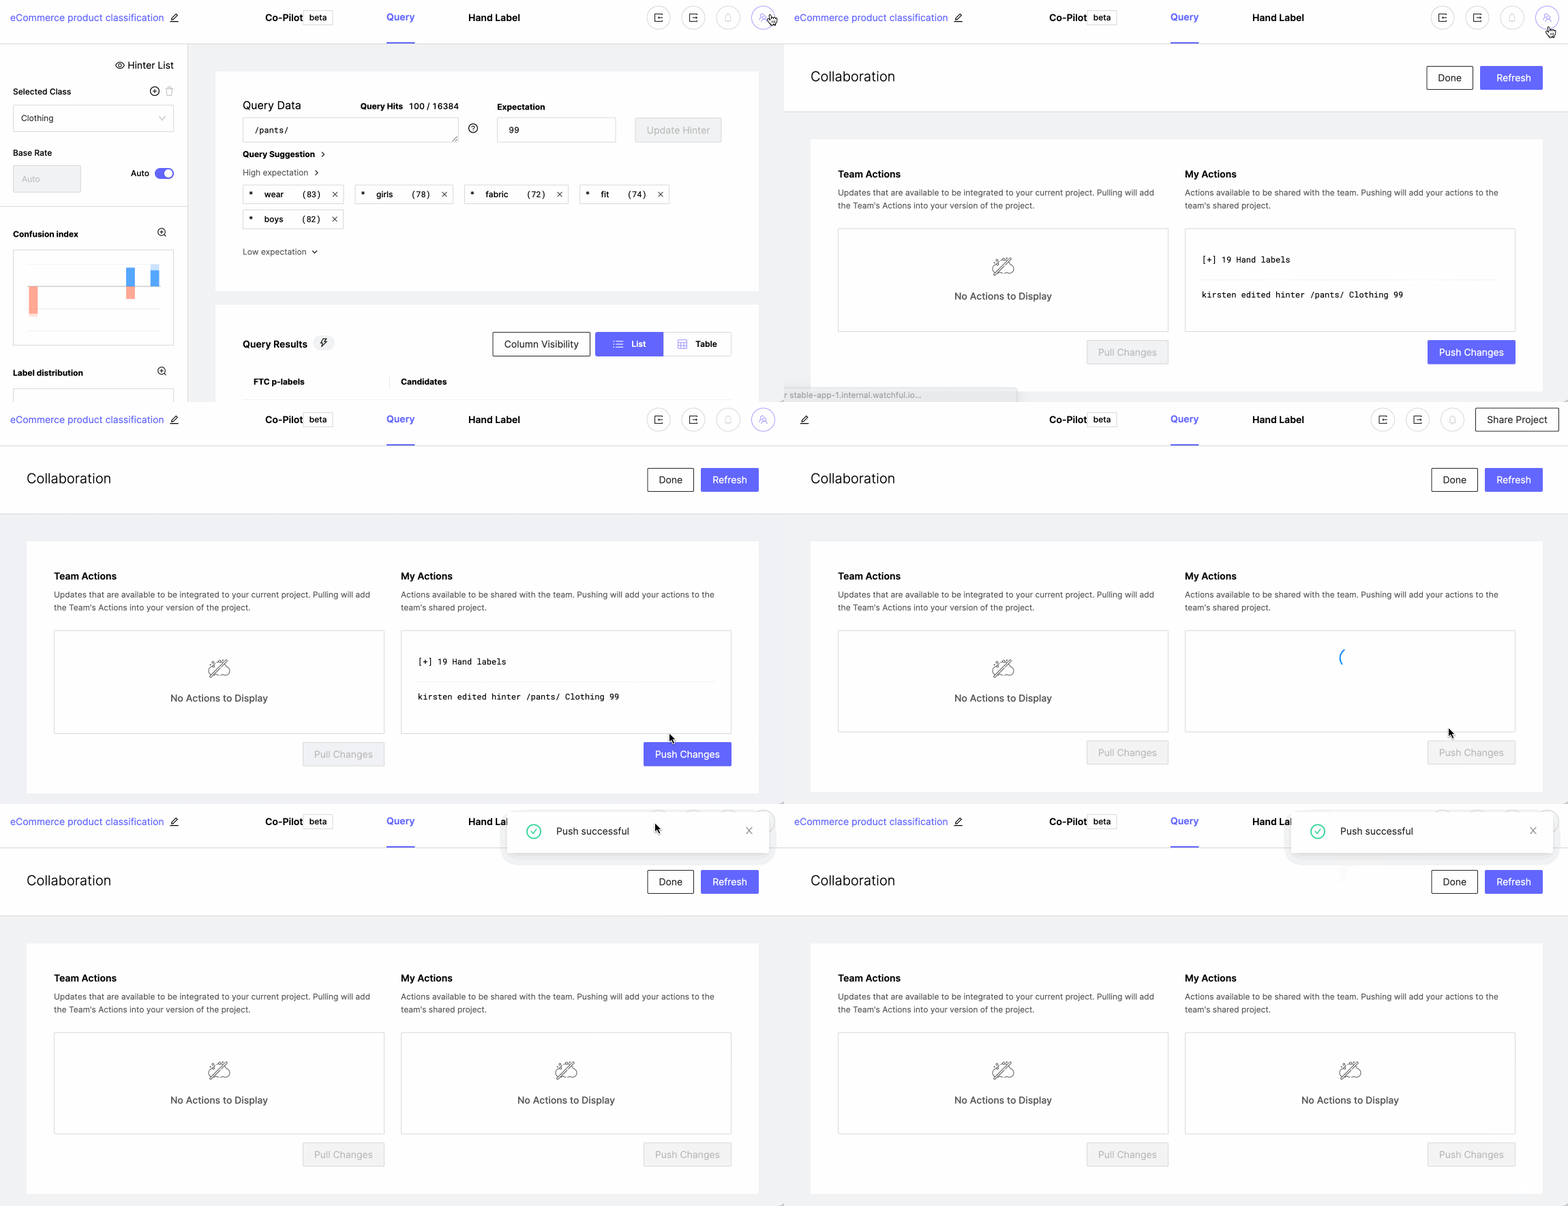
Login to the app by opening the login drawer in the bottom left and entering your credentials. More on Setting up Watchful Hub here. Then you can Share your project by clicking the

Share your progress and incorporate other's by going into the collaboration view. Pull in other team member's actions from Watchful-Hub, and Push your own actions.
Updated over 2 years ago
Dig deeper and learn how to take full advantage of Watchful
